Playing around with your boats electronics and finding out what works for you and your fishing needs is now a part of the preparation to catch consistent fish. I recently upgraded the sounder in my tinny to a Lowrance HDS 12 Live. I installed the unit at home by myself which is a relatively easy task that can be done in many ways to suit many scenarios, but here’s what worked best for me.
Deciding where to Install your HDS Live
Firstly, you want to have an idea in your head of what you are going to be doing with the HDS Live and how you want to use it. This will decide where and how you want to install your sounder. For me the 12-inch unit was going into my 4.2m tiller steer tinny that I use mostly for barramundi fishing in both the estuaries and the freshwater impoundments. This means the use of the unit was pretty simple, I wanted it to find me Barramundi to fish for.

Barramundi move about in schools or small packs of fish and there can often be lots of water between patches of fish, so you want to make sure you have fish around your boat before you pull up and start fishing. Luckily barramundi show up on side scan extremely well as they often swim around mid-water or off the bottom in relatively shallow water (1 to 10m). This means I wanted my unit mounted right in front of me while I drive the boat searching for fish. Once I find a patch of fish on the outboard motor, I drop the electric motor in and spot lock up wind of the fish.
I then stand on the casting deck of the boat and put my back to the wind, looking and casting out the back of the boat towards the fish. This means I want the unit to swivel around and now face the front so I can watch the unit for fish moving down the right or left side of the boat. One way to do this would be to mount the HDS Live on a swivel Ram mount off the boats gunnel so I can swing the unit around. However, being a smaller tinny with no console. One of the major advantages of the boat is that you can push up under the trees, mangroves or low-lying bridges to get wherever the fish are. That some bigger boats can’t. Due to this I didn’t want the unit to be mounted higher than the gunnels.
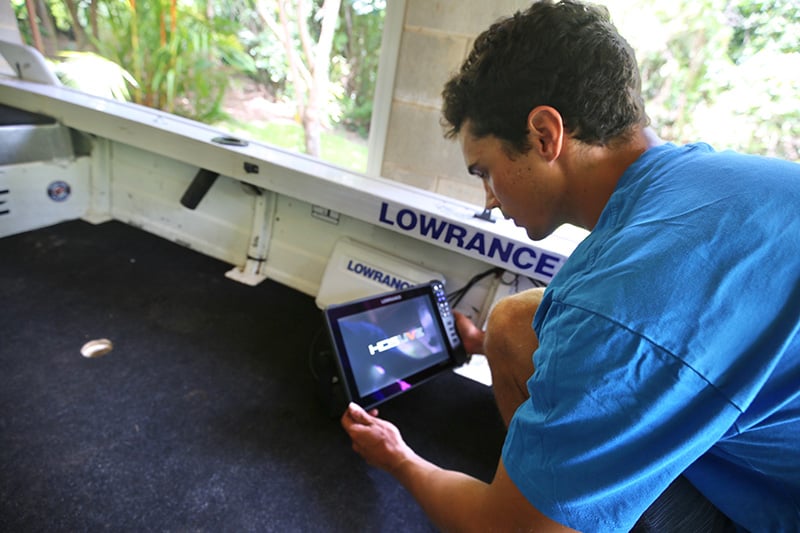
Turning the unit on for the first time while sitting in the chair I drive the outboard from
Installing HDS Live
Therefore, I chose to mount the unit on the floor of my boat out of the way of low hanging dangers and on a swivel so I can simply turn the unit to face whatever way I want it facing. This works extremely well for how I want to use the unit. I used the standard Lowrance metal mounting bracket with a large bolt and lock nut with 2 large washes to go through the big centre hole in the bracket. This formed a strong and centre swivel point, mounting it to the floor and allowing me to twist the unit in all directions.
Once you have picked where and how you want to install HDS Live, you can begin the rest of the process. For me this was very simple as all I needed to setup for the small tinny was the power cable and transducer. The power cable I simply ran from my power box that runs my lights and bilge from a 12-volt deep cycle battery, that is charged by my outboard. I simply twisted the yellow wake up cable into the red positive cable and attached these to a positive terminal in my junction box. The black or negative cable simply runs to the earth of the power box.
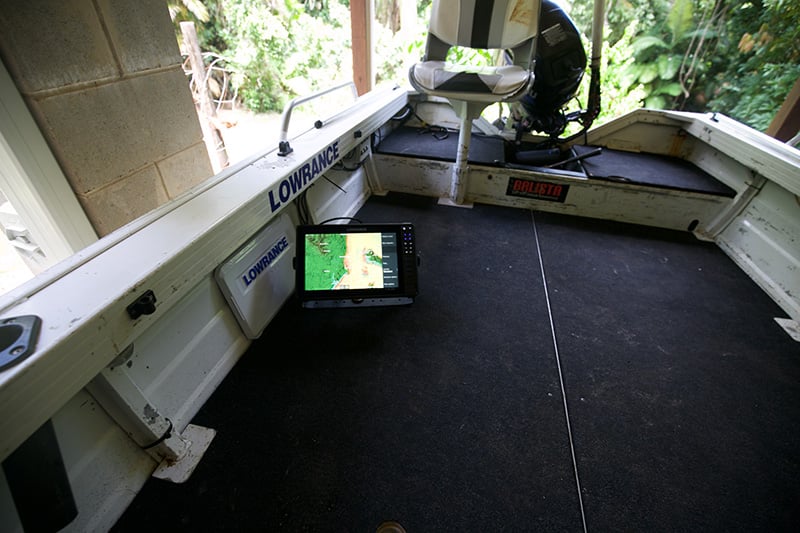
The unit swivelled around to face the front of the cast deck, still a great view even in fishing position!
My junction box already has inbuild fuses inside the box so no need for a fuse with me but make sure you include the fuse that comes with the unit if you are mounting without a fused power box. Run the power cable up inside the boats gunnel and have the power plug ready to plug into for your head unit.
Active Imaging Installation
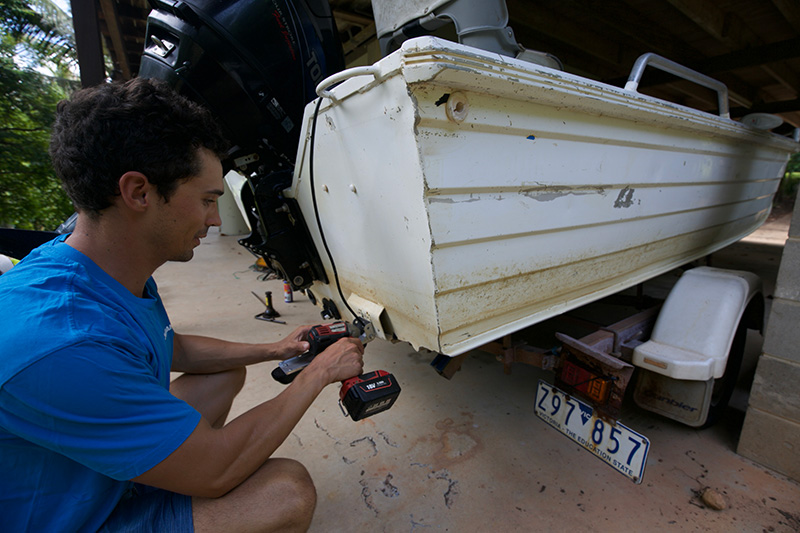
Mounting of the transducer is also an important factor as I wanted to get this just right, so I was receiving the clearest picture while sounding at speed. Most boats will have a transducer mount fitted.
On my Quintrex tinny is just a small piece of aluminium welded to the hull that you can drill into and not compromise your boats hull. You want to mount your transducer here, where it is going to get the least amount or disturbance from the hull/motor.
My tinny has small chines in the hull every 150mm so I mounted the 3 in 1 transducer right in the middle of 2 chines on the flat of the hull to minimise disturbance from the hull chines. Have the transducer mounted so it sits just at the right height in the water, when travelling at speed on the plane. This will be just slightly below your hull, so the bottom of the transducer skims over the top of the water.
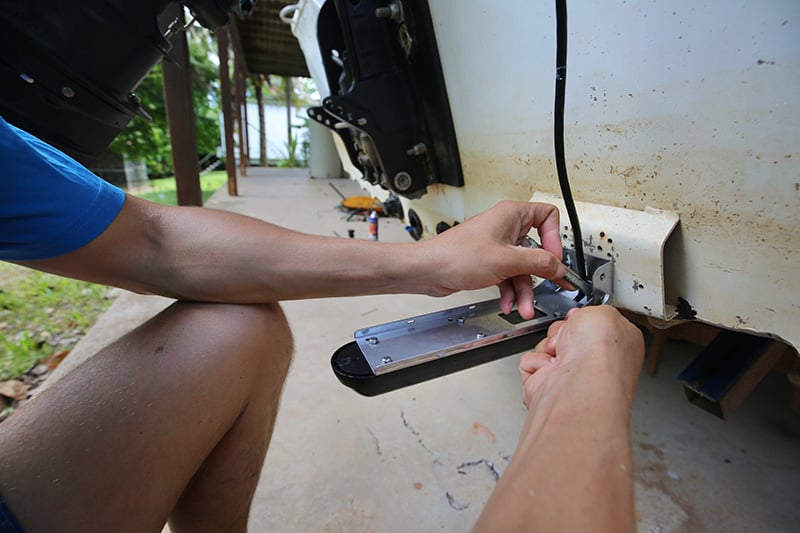
Screwing the transducer to the hull with stainless-steel screws
Mount this too deep and the transducer will catch too much water and spray water everywhere causing disturbance. Too shallow and the transducer will have air flow under it causing broken readings. This is probably the most important factor of installation and don’t be afraid to readjust it if you don’t get it right the first time.
The Active Imaging transducer comes with a stainless-steel mounting bracket that screws into the top of the transducer. This mount has an adjustable elbow for adjusting the angle of the transducer while also giving the transducer a chance to flip up for traveling or if you somehow manage to strike it on something solid.
Adjusting the angle of the transducer by loosening the bolt and nuts on the transducer mount elbow
Where the mount sits on your boat, there are 2 slots for you to use the 2 self-taping stainless screws that screw into your boat’s transducer mount. These 2 slots allow you to adjust the height of the transducer by simply loosening off these 2 screws. Once loosened you can slide the transducer up or down to adjust height without having to drill more holes. Once installed, run the transducer cable up into your hull and along under the gunnel to where your head unit is. If you have excess transducer cable, simply coil it up and zip tie it up out of way under your gunnel or console.
Finishing Touches
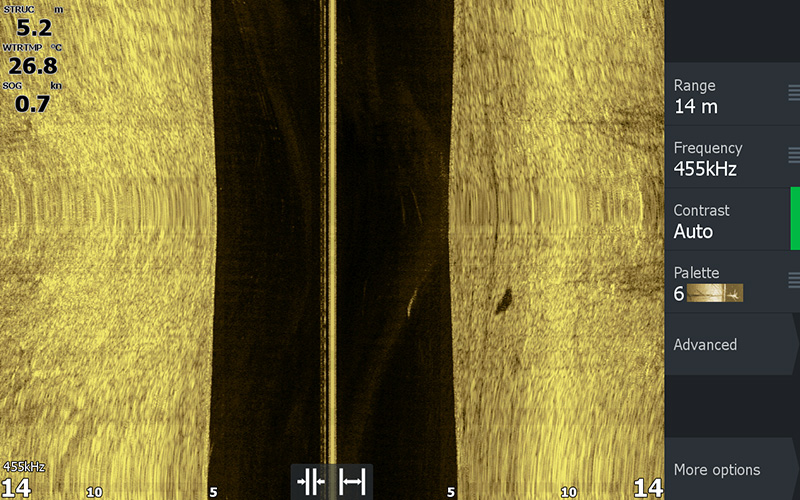
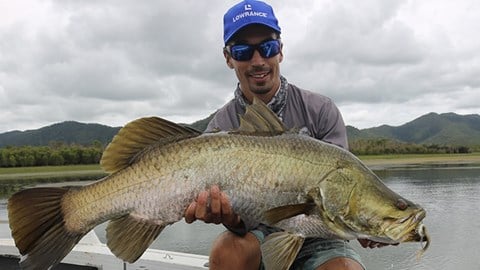
Barra swimming past on the right hand-side of the boat on the first outing with the new HDS 12 Live
Now I was all set up to plug everything in and turn the unit on. I downloaded the Lowrance app, registered the unit and began to customise the unit to the way I like it. Quick test run in the local lake confirmed all was working the way I had hoped and into the Barra I was! So, remember think about what works for you and you’re fishing in terms of mounting or instillation. Then develop an approach that’s going to work best for you, too guarantee you’ll get the most out of your new unit too!


